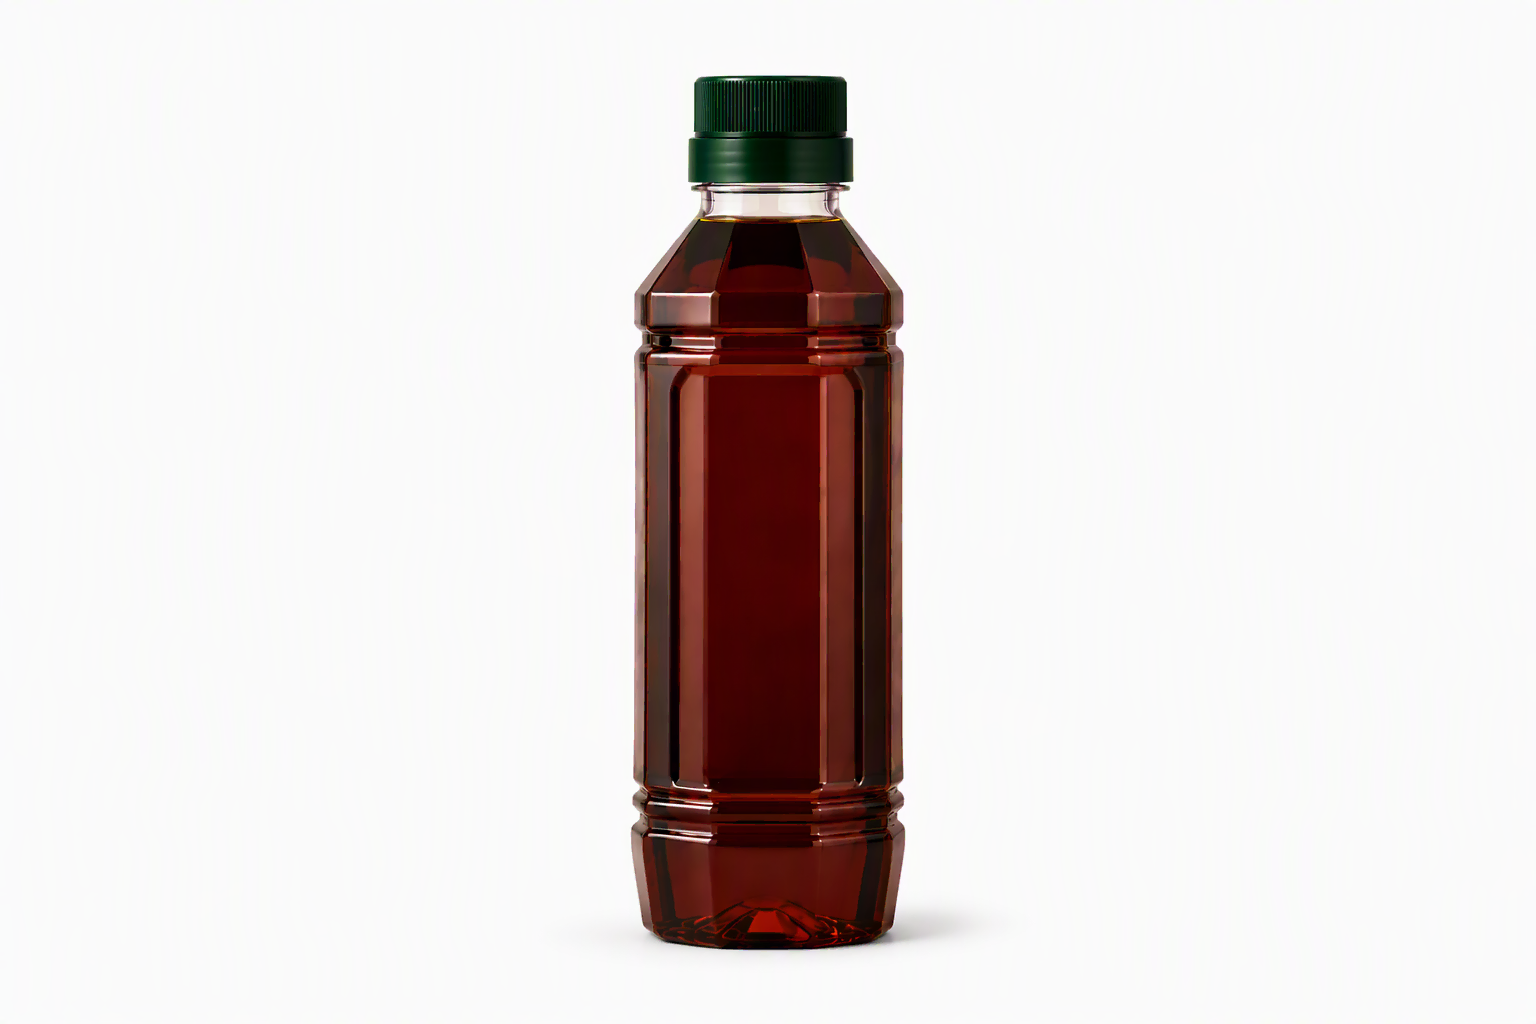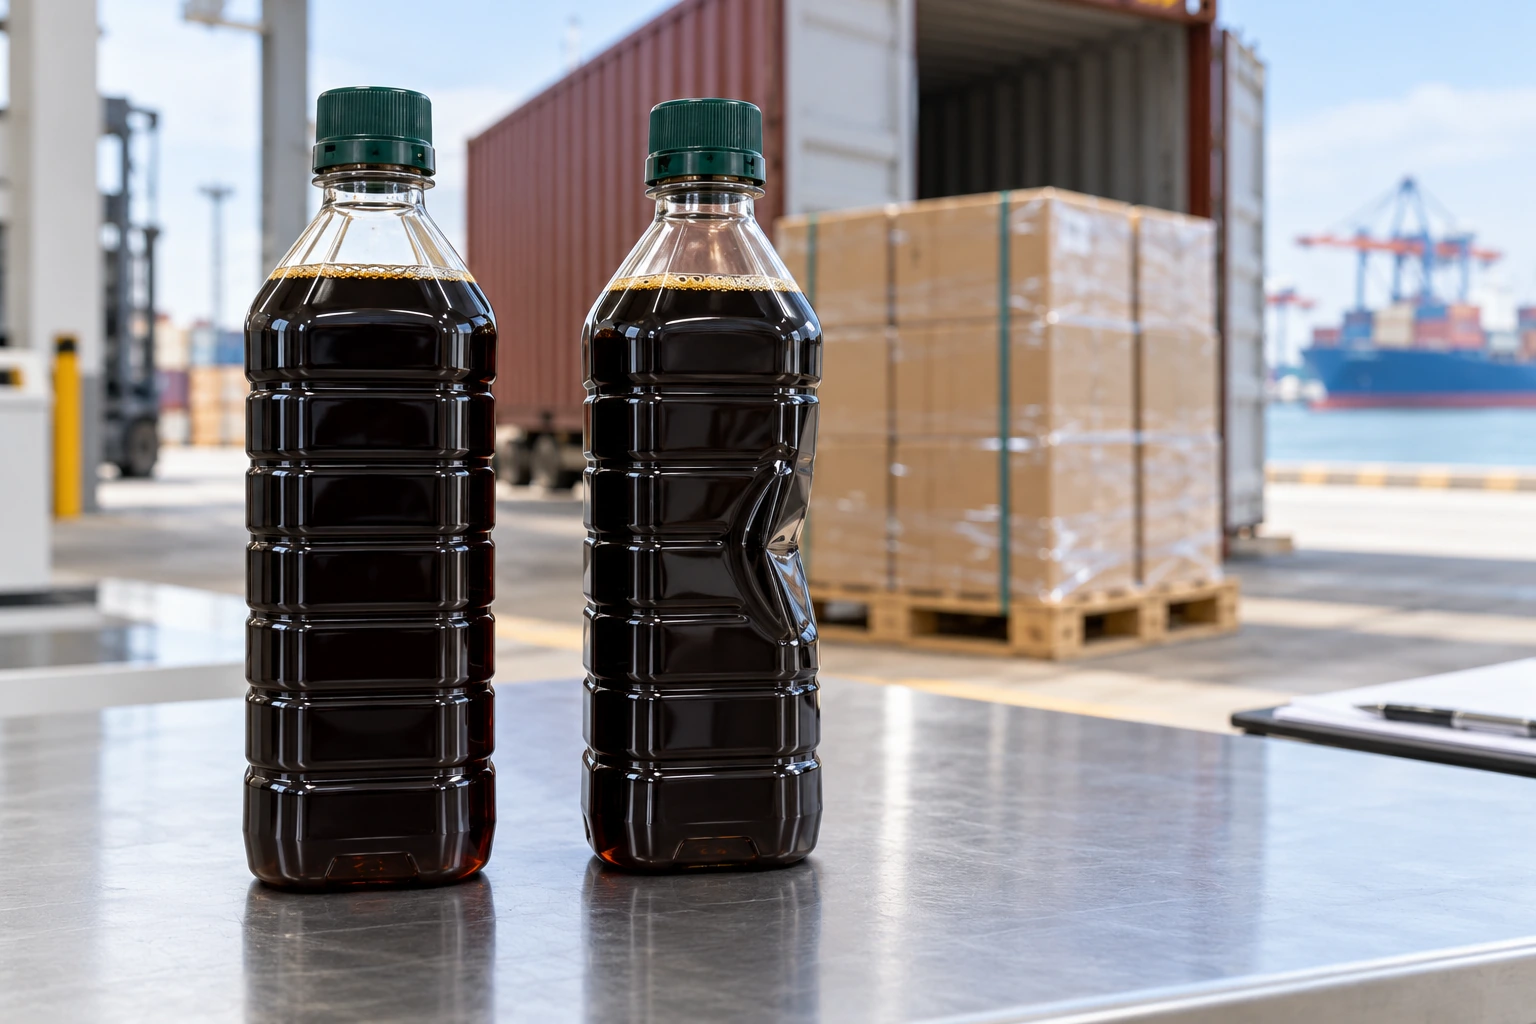
When a filled soy sauce bottle arrives with an inward dent, the bottle wall has been pushed past the shape it can comfortably recover. That can happen because the pressure inside the sealed bottle falls during cooling, because one area of the wall is too thin, or because the carton and pallet keep pressing on the same panel during transport. In many shipments, more than one of these factors is involved.
Before adding bottle weight or changing the carton, look at when the dent first appears. A bottle that pulls inward before case packing points back to filling, capping and cooling. A bottle that is straight at pack-out but distorted on arrival points more strongly to carton contact, stacking and route conditions. Separating those two situations helps you correct the real cause instead of paying for a heavier bottle that still arrives damaged.
This guide focuses on filled and sealed soy sauce bottles shipped as finished goods. Empty bottles behave differently because they do not contain liquid and have not passed through filling, capping or cooling. We follow the finished pack from the filling line through the carton, pallet and ocean route so you can see where each type of deformation begins.
| When the dent first appears | What may be causing it | What to check first |
|---|---|---|
| After filling and complete cooling | Cool-down vacuum, fill level, bottle geometry, wall distribution or closure timing | Fill temperature at the bottle, cap timing, headspace, 24-hour bottle profile and retained unfilled controls |
| After labeling or case packing | Side compression, label tension, divider contact or an already weakened panel | Location of the dent relative to the label seam, carton divider and bottle orientation |
| After pallet conditioning | Carton compression, pallet overhang, humidity, top load or bottle-to-bottle contact | Top/middle/bottom case samples, carton height loss and pallet pattern |
| Only after ocean and inland transit | Temperature cycling, sustained stack load, vibration, closure leakage or combined stresses | Route data, arrival photos, seal condition, carton position and comparison with conditioned controls |
1. Separate Cooling Vacuum from Transit Deformation
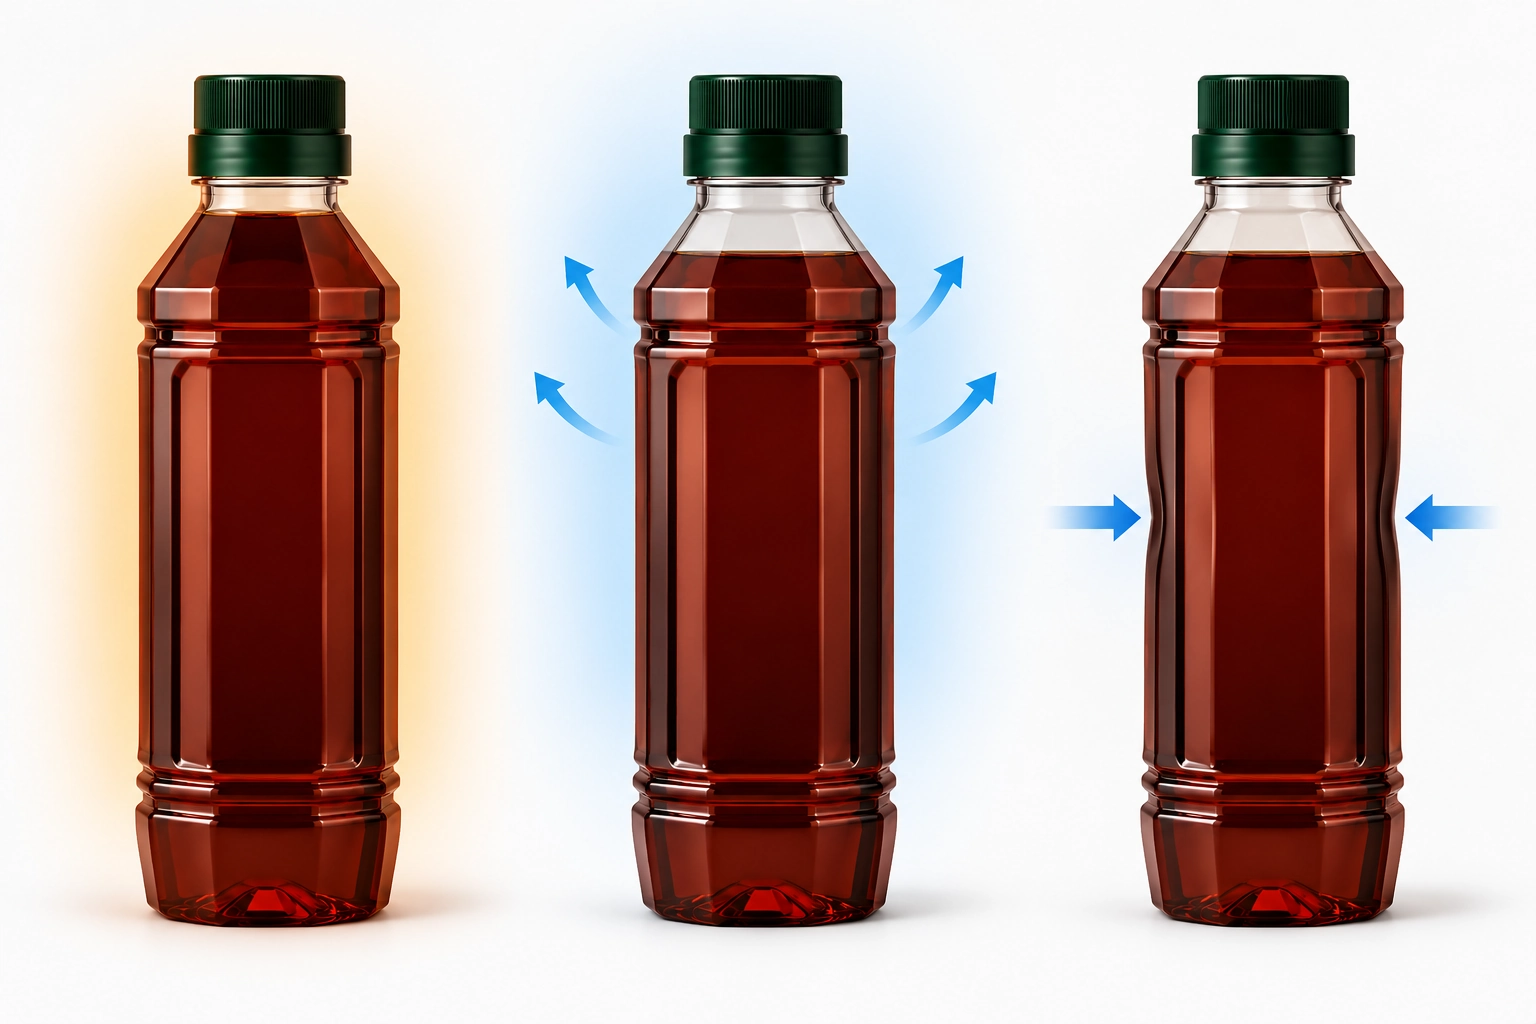
A capped warm or hot-filled bottle can look acceptable on the line and pull inward later. As the soy sauce and headspace cool, both change volume and the internal pressure can fall. If the package cannot manage that pressure difference, the weakest sidewall moves first. This is cooling vacuum, even if the paneling is not noticed until the next morning or at the warehouse.
Transit deformation follows a different pattern. It may align with a carton divider, a neighboring bottle, a pallet deck gap or the direction of case compression. It can be more severe in lower cartons and at pallet edges. A bottle that recovers after unloading behaved differently from one with a permanent hinge line or stress whitening, so recovery time should be recorded rather than judged only at the moment the carton is opened.
A simple comparison can quickly narrow the cause. Keep one filled and capped group outside the shipping case under the same temperature history, then place a second group in the actual carton and pallet pattern. If both groups panel, focus on the bottle, fill and cooling process. If only the packed group deforms, the carton or transport load is contributing. This gives you a much clearer direction than a single photo taken after arrival.
- Photograph bottles after complete cooling, after 24 hours, after carton conditioning and after the distribution sequence.
- Mark the same shoulder, label-panel and base dimensions on every comparison sample.
- Keep unfilled bottles from the same production lot as controls for wall and geometry checks.
- Record whether each dent recovers, partly recovers or remains permanent after unloading.
2. Understand What Changes Pressure Inside a Sealed Bottle
Pressure starts changing as soon as a sealed bottle changes temperature. The gas in the headspace changes volume, the soy sauce contracts as it cools and the bottle wall flexes in response. The closure may also allow a very small amount of gas movement. A pressure calculation helps explain the direction of change, but the filled bottle itself shows whether the complete package can handle it.
There is no single ideal headspace for every soy sauce bottle. Too little headspace can leave less room to absorb liquid contraction, while too much can affect oxidation, fill appearance, slosh and the declared fill. We recommend setting a practical fill-mass and headspace range, then checking both ends of that range through the real cooling process.
Most ocean transport remains close to sea level, so atmospheric pressure loss alone is rarely the best explanation for a paneled bottle at sea. Start with the cooling vacuum, route temperature changes and the load carried by the carton and pallet. If the journey also includes a high-altitude inland route or air freight, include that specific pressure change in the package trial.
Nitrogen and EVOH solve different packaging problems. Nitrogen may help reduce oxygen in the headspace, but a normal nitrogen purge does not automatically remove cooling vacuum. EVOH can improve gas-barrier performance, but it does not strengthen a weak wall or stop a divider from pressing into the bottle. We consider these options only when they match the product and route problem you are trying to solve.
| Variable | How it can change the package | What to control |
|---|---|---|
| Fill temperature and cooling curve | Creates thermal contraction and may change bottle stiffness | Temperature at the filler, time to cap, hold/inversion and bottle temperature through cooling |
| Fill mass and headspace | Changes the gas volume available to absorb liquid contraction | Minimum, target and maximum commercial fills |
| Closure and seal | Controls gas exchange and can introduce slow leakage paths | Cap version, torque, liner or induction seal, tamper feature and residue on the sealing land |
| Route temperature | Changes internal pressure and carton properties during repeated cycles | Realistic hot/cold dwell, humidity and recovery periods |
| Inland altitude or air leg | Lowers external pressure and can challenge seals or bottle shape | Named route elevation or flight exposure and a separate pressure simulation when relevant |
3. Use Bottle Geometry to Control Where the Wall Moves
A bottle does not need to be uniformly heavy to resist paneling. It needs a wall map and geometry that place material where the finish, shoulder, label panel, grip and base actually carry load. Sharp section changes, broad unsupported panels and a thin shoulder can create hinge points even when the average bottle weight looks generous.
Ribs, rings, panel boundaries and a stable base can interrupt a large flat wall and direct movement into controlled areas. A properly designed vacuum panel is intended to move predictably during cooling; random label-panel collapse is not. Structural features must still leave enough usable label area and should not trap soy sauce or create unstable conveyor contact.
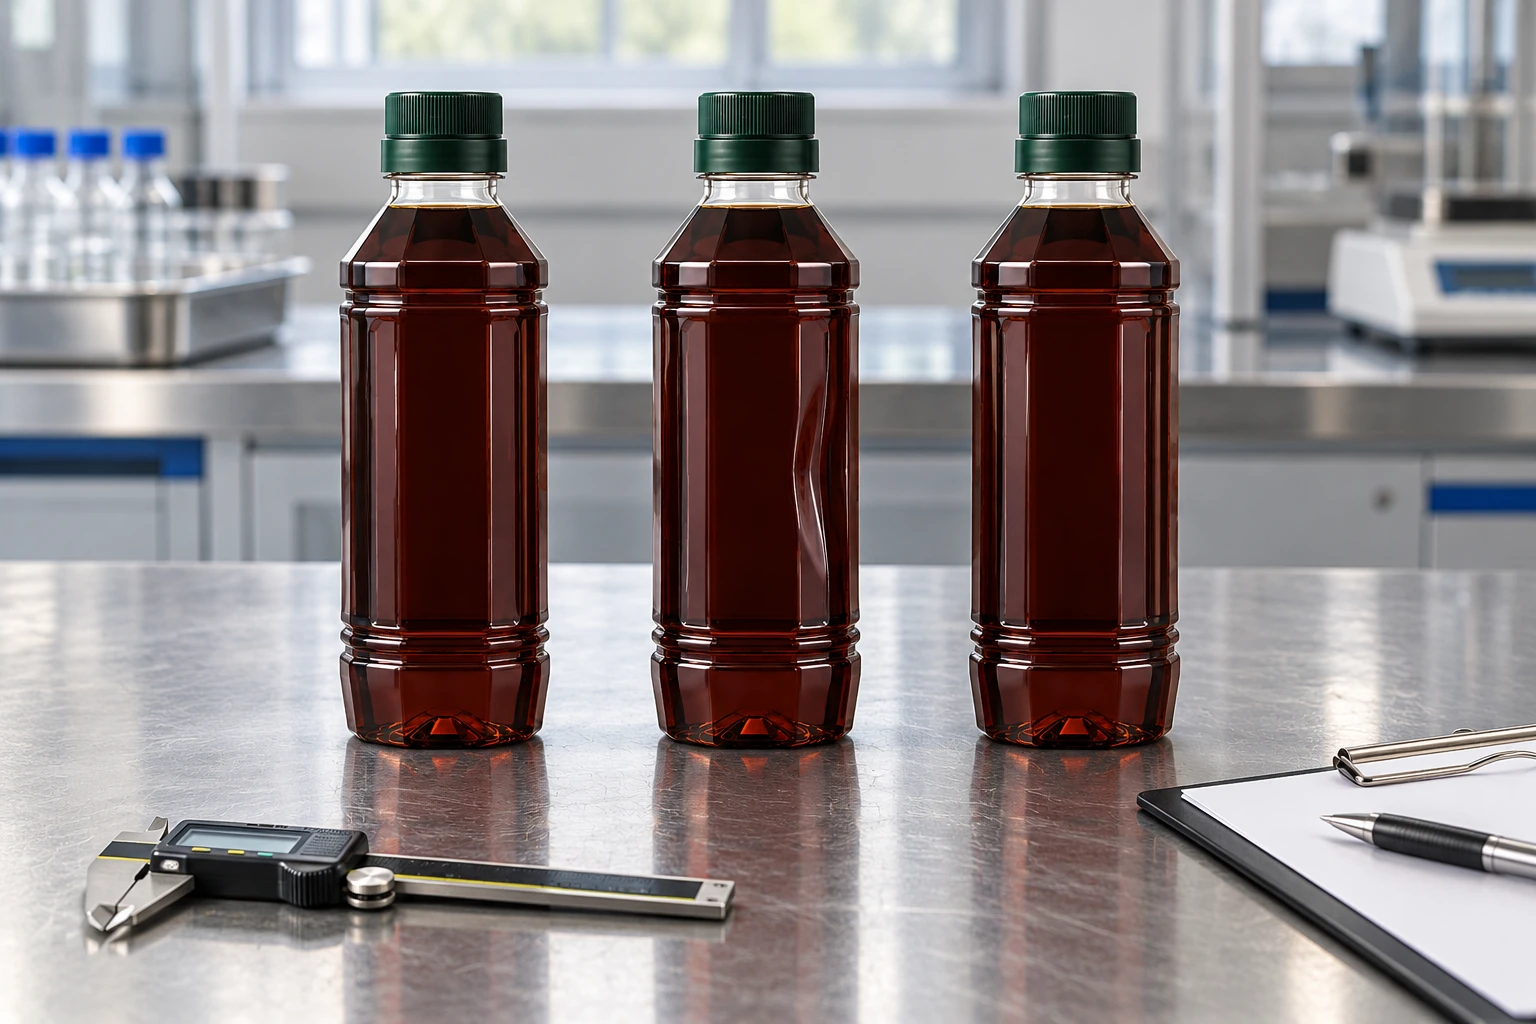
When you are choosing from existing PET soy sauce bottles, we first match the available molds to your filling process, label area and carton. This is often faster than adding resin or starting a new mold. If an existing shape cannot handle the cooling and transport load, we change one feature at a time—such as wall distribution, preform route, rib geometry, panel depth or base structure—so you can see which change actually improves the pack.
- Map section weights or wall thickness at the shoulder, panel edges, label area and base transition.
- Check neck roundness and sealing-land flatness; a stronger body does not correct a distorted finish.
- Measure base rock and overall height as well as the visible dent.
- Evaluate the final label on conditioned bottles because a small panel movement can become a large visible wrinkle.
4. Control Wall Distribution Instead of Simply Adding Weight
A heavier bottle can be stiffer, but extra resin does not help if it stays in the neck or base while the critical sidewall remains thin. We look at total bottle weight together with section weight, wall-thickness readings and mold-cavity variation. The goal is a repeatable wall profile that supports the bottle where it needs strength, not simply the heaviest bottle available.
PET stretch ratios and preform selection affect how material reaches the shoulder and lower body. Blow-molding settings, heating profile, mold cooling and production speed can then shift the wall map. To make sure the result is repeatable, include the mold cavities or production heads you plan to use and run them through the normal operating window instead of checking only one ideal sample.
The useful question is whether the bottle still works and still looks right after filling and transport. Check dimensional change at the same marked points, base stability, permanent creases, label-panel flatness and recovery after the load is removed. One universal wall-thickness or top-load target would be misleading because bottle diameter, panel size, fill mass, temperature and case pattern all change the result.
| Check | Why it is useful | Common mistake |
|---|---|---|
| Total bottle mass | Confirms overall material consistency | Assuming equal mass means equal wall distribution |
| Section weight | Shows whether resin is reaching the shoulder, body and base | Cutting only one sample from one cavity |
| Wall-thickness map | Finds local thin zones and asymmetric stretching | Checking only the thickest or easiest point |
| Dimensional recovery | Separates controlled flex from permanent deformation | Inspecting immediately under load and not after recovery |
| Cavity or head comparison | Checks production repeatability | Approving a hand-selected best sample |
5. Treat the Cap, Liner and Bottle as One Pressure System
The closure decides whether the bottle stays sealed as temperature and internal pressure change. For tamper-evident soy sauce bottles, we match the bottle finish, cap thread, application torque, liner or induction seal and tamper feature as one system. A cap that is too loose may vent and later leak, while excessive torque can distort the threads or make the pack difficult to open. Neither is a reliable solution to paneling.
Soy sauce left on the sealing surface can create a slow leak that appears only after side storage, vibration or temperature cycling. Controlled-pour soy sauce bottles also include a pour insert and an air-return path, so the insert must stay secure, pour cleanly and reclose without bypass leakage. Use the same bottle, cap, liner and insert planned for production when checking the package.
A vented liner is not a standard answer for retail soy sauce. Gas exchange can affect leak resistance, oxygen exposure, tamper evidence, hygiene and shelf life. We consider a vented option only when the complete product, closure and filling process have been designed for it.
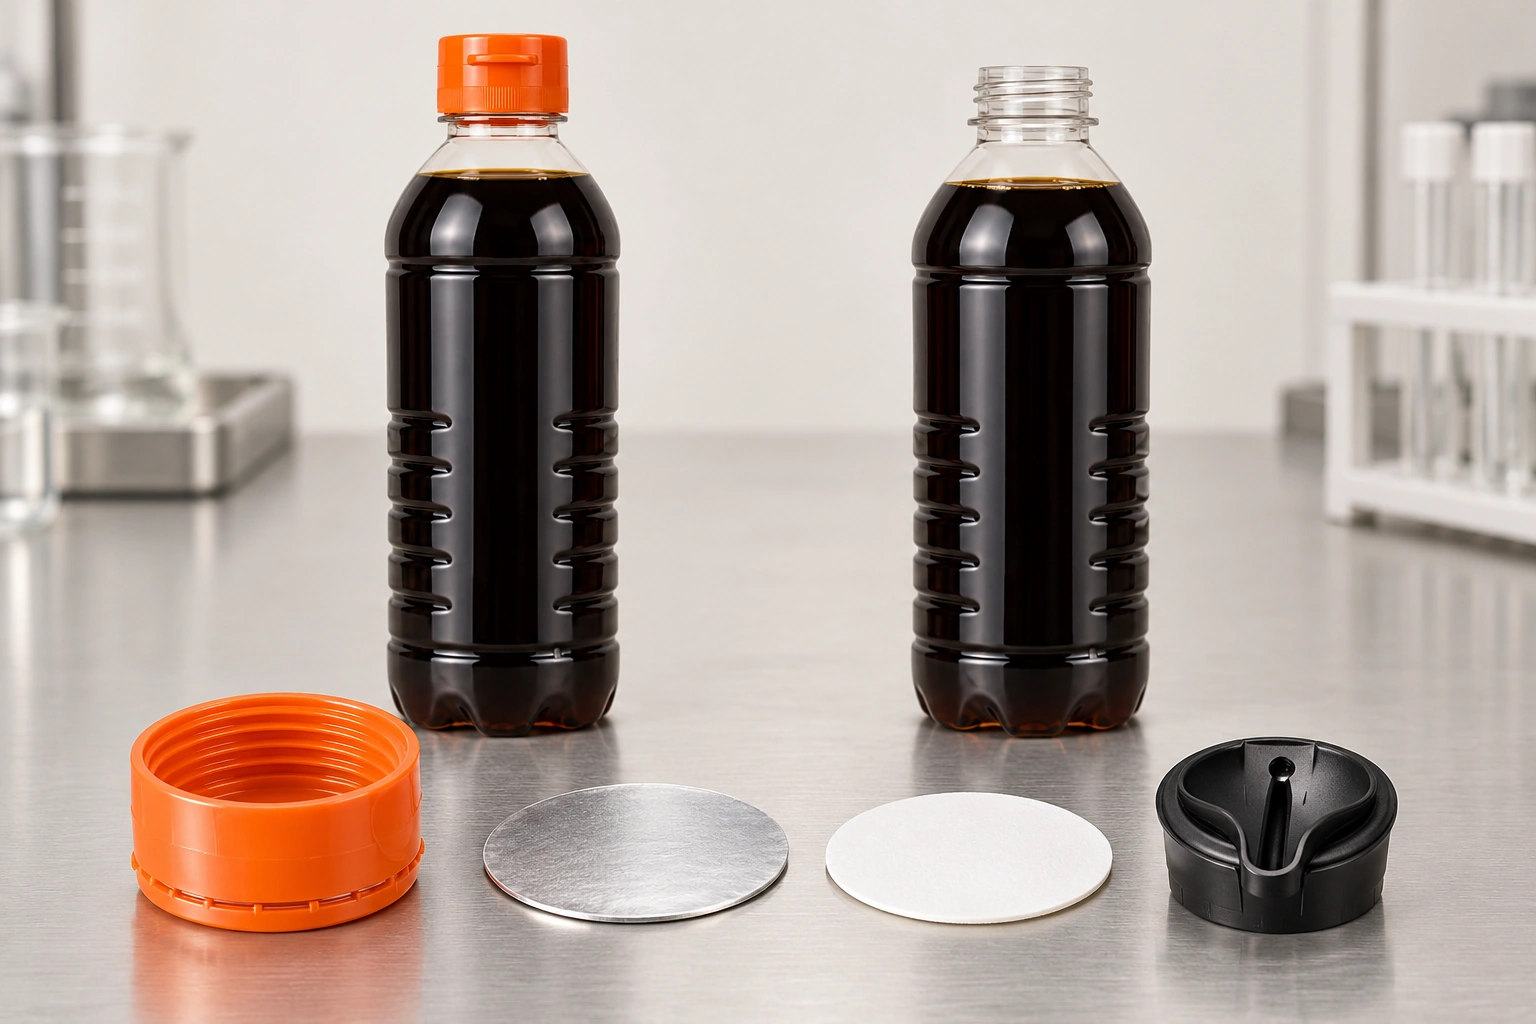
- Record applied and removal torque at pack-out, after 24 hours and after the distribution sequence.
- Inspect the sealing land, liner or induction foil and tamper band before and after conditioning.
- Use side-lay or inversion exposure with defined time, temperature and absorbent detection for slow leaks.
- Retest after any cap resin, liner, insert, finish or capping-setting change.
6. Make the Carton and Pallet Carry the Load Without Pinching the Bottle
A filled bottle places much more force on the case than an empty bottle. Dividers can prevent bottle-to-bottle contact, but an edge that rests against a broad label panel can create a permanent pressure line. A case that is too tight squeezes every bottle, while a case that is too loose lets bottles build momentum during vibration. The right pack gives each bottle controlled clearance and directs the stack load through the carton rather than through the sidewall.
The bottom cartons may carry the stack for weeks. Humidity can weaken corrugated board, while pallet gaps and carton overhang concentrate the load in small areas. For that reason, we match the bottle count, divider style, layer pattern, pallet footprint, stretch wrap and top support to the filled pack—not just to an empty-bottle drawing.
The ASTM D4332 conditioning practice can help set controlled temperature and humidity conditions, while the ASTM D4169 distribution test practice provides a structure for combining transport hazards. The actual test level still needs to reflect your route, stack height, handling method and acceptance limits.
| Pack variable | How it can affect the bottle | What to confirm |
|---|---|---|
| Bottle orientation | The same weak panel repeatedly faces a divider or neighboring bottle | Orientation drawing and case-packing reference |
| Case count and clearance | Continuous side squeeze or excessive bottle movement | Filled-bottle fit with expected production variation |
| Divider and pad position | Localized pressure line or neck load | Contact location after vibration and compression |
| Carton and humidity | Loss of stack strength transfers load into bottles | Conditioned case performance at planned stack height |
| Pallet pattern | Overhang, deck gaps and unstable columns create uneven load | Footprint, layer pattern, wrap settings and final pallet height |
7. Build a Route-Based Pre-Shipment Validation Plan
A useful shipping trial starts with the soy sauce you will sell, the selected bottle and cap, the actual fill mass, the intended label, the production carton and the planned pallet. Reproduce the filling, capping and cooling process first, then begin the transport sequence with bottles that are still straight. Starting with bottles that are already paneled will not show whether the carton caused the damage.
Match the temperature profile to the route instead of choosing one extreme chamber setting. Include the hot-container and cool-night periods you expect, the humidity the carton may face, recovery time and any high-altitude inland leg. Apply vibration, compression and handling to the same shipping units in a clear sequence, while keeping filled controls outside the case for comparison.
Gracepack can help you compare an existing bottle family, match the cap or pour insert, prepare production-equivalent samples and plan the case count around the selected format. If your brand, retailer or destination market requires a formal environmental or distribution program, we can prepare the correct package samples and specifications for your validation team or chosen laboratory.
| Stage | What to record | What the result tells you |
|---|---|---|
| Filled-package baseline | Bottle lot, cavity/head, fill temperature, cap timing, fill mass, headspace and torque | Reject pre-existing deformation before transit testing |
| Post-cooling check | Profile, base stability, seal and recovery after 24 hours | Separates residual process vacuum from later transport effects |
| Conditioned case | Temperature/RH history, case height, pallet position and load | Shows whether environment weakens the shipping system |
| Vibration/compression sequence | Test level, duration, sequence and retained controls | Links a failure to combined route hazards |
| Recovery and opening | Bottle dimensions, leak signs, torque, label condition and carton position | Determines whether deformation is temporary, permanent or associated with seal loss |
8. Inspect Arrivals in a Way That Leads to a Corrective Action
When a shipment arrives, photograph more than the worst bottle. Note where each affected carton sat in the container, pallet and layer, then compare cases from the top, middle, bottom, edge and center. If a data logger traveled with the load, keep its temperature history together with notes on carton moisture, stack lean, divider marks and any soy sauce around the closure.
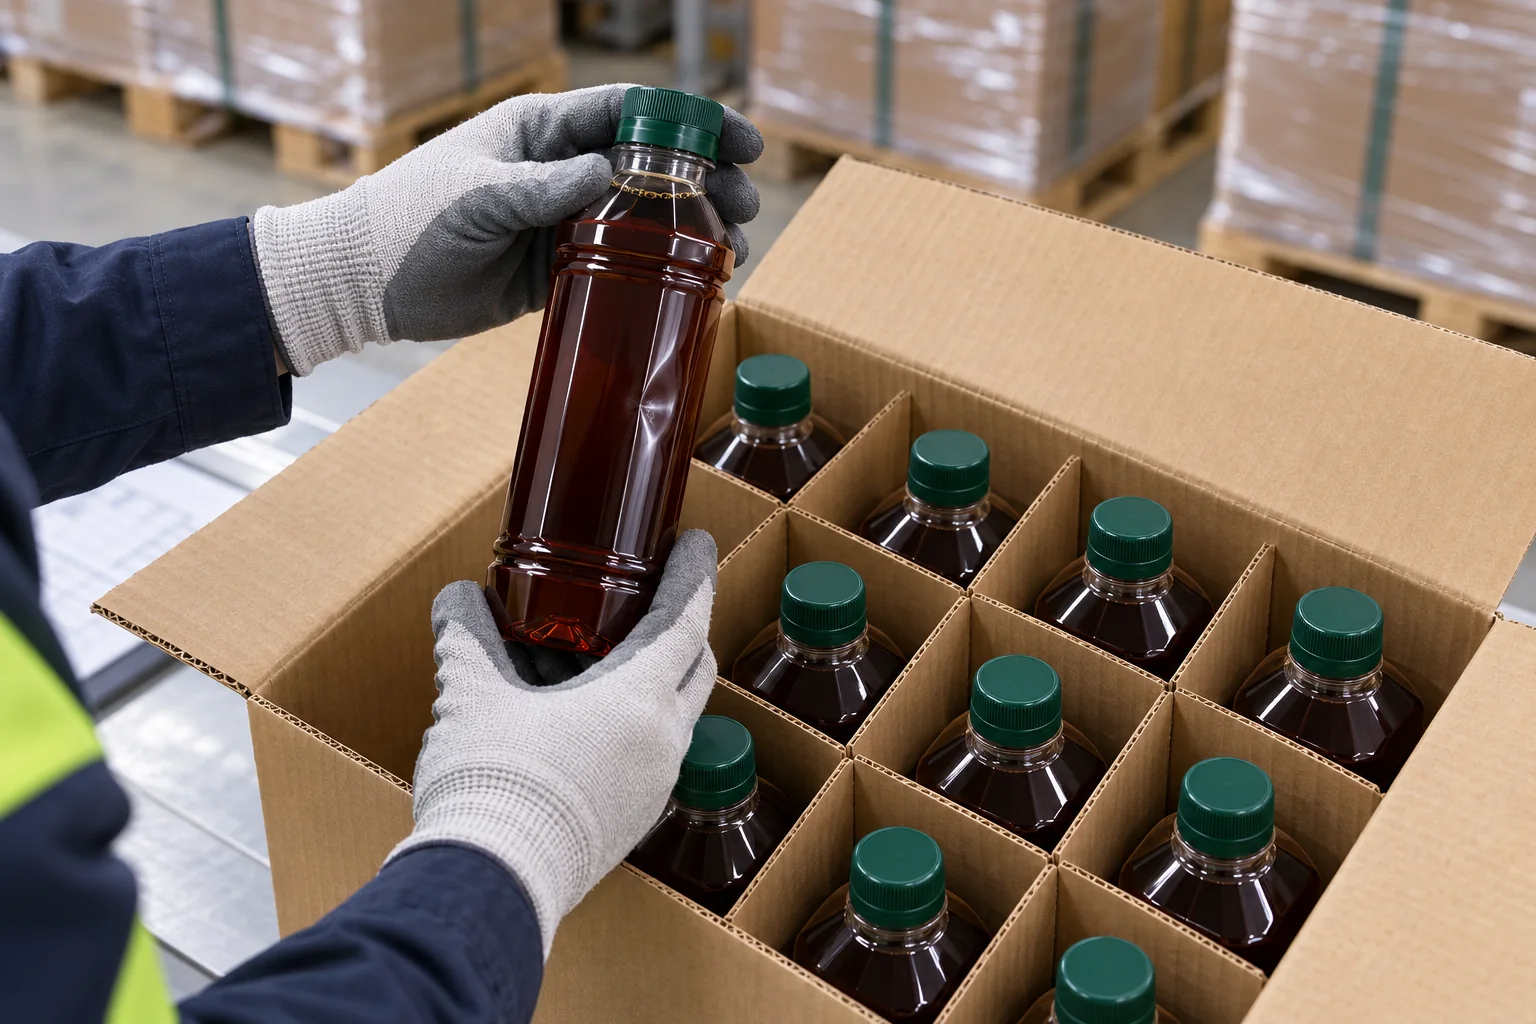
The damage pattern can point you toward the cause. Similar inward movement in bottles kept outside the carton suggests cooling vacuum or bottle design. Repeated dents beside dividers suggest case geometry. Damage concentrated in lower layers suggests compression, while random dents, scuffing and shifted bottles suggest too much movement. A loose cap, leaking seal or broken tamper band means the closure also needs attention before the next shipment.
Start with the smallest change that addresses the pattern you found. That may be a better fill and headspace window, a controlled rib or panel, improved wall distribution, a matched cap setting, repositioned dividers, a different case count or a stronger carton. Repeat the relevant trial after the change so the next production shipment uses a package you have already checked.
- Record dent location and depth, bottle mass, overall height, base stability and recovery time.
- Inspect the cap, tamper band, liner or seal and neck finish before opening the bottle.
- Keep the carton, divider and pallet-position notes until the cause is clear.
- Compare affected bottles with retained pack-out controls from the same production lot.
FAQ About Soy Sauce Bottle Paneling in Ocean Freight
Is ocean-container heat the main cause of paneling?
Not by itself. Heat can soften a bottle and change internal pressure, but paneling usually reflects a combination of residual cooling vacuum, bottle geometry, wall distribution, closure condition and mechanical load. Reproduce the route with filled controls before assigning one cause.
Should we make the PET bottle heavier?
Only after confirming where the weak section is. More total resin may help, but it can also remain in the finish or base while the panel stays thin. Section weight and wall mapping are more useful than total grams alone.
Can nitrogen purging prevent a soy sauce bottle from collapsing?
Nitrogen may support an oxygen-control program, but a normal purge is not a universal vacuum remedy. The required pressure behavior, headspace, fill process and shelf-life effect must be validated as one package.
Should we use a vented liner?
Usually not as a default for sealed retail soy sauce. Venting can change leak resistance, oxygen exposure, hygiene and tamper performance. Use it only when the complete food package has been specifically designed and validated for that route.
What should we send Gracepack for a paneling review?
Send the bottle and cap specification, actual soy sauce, fill-temperature range, cap timing and torque, target fill mass and headspace, photos showing when the dent first appears, carton and pallet drawings, destination route and affected carton positions. Those details let us compare a current bottle-and-cap route before discussing a new mold.