
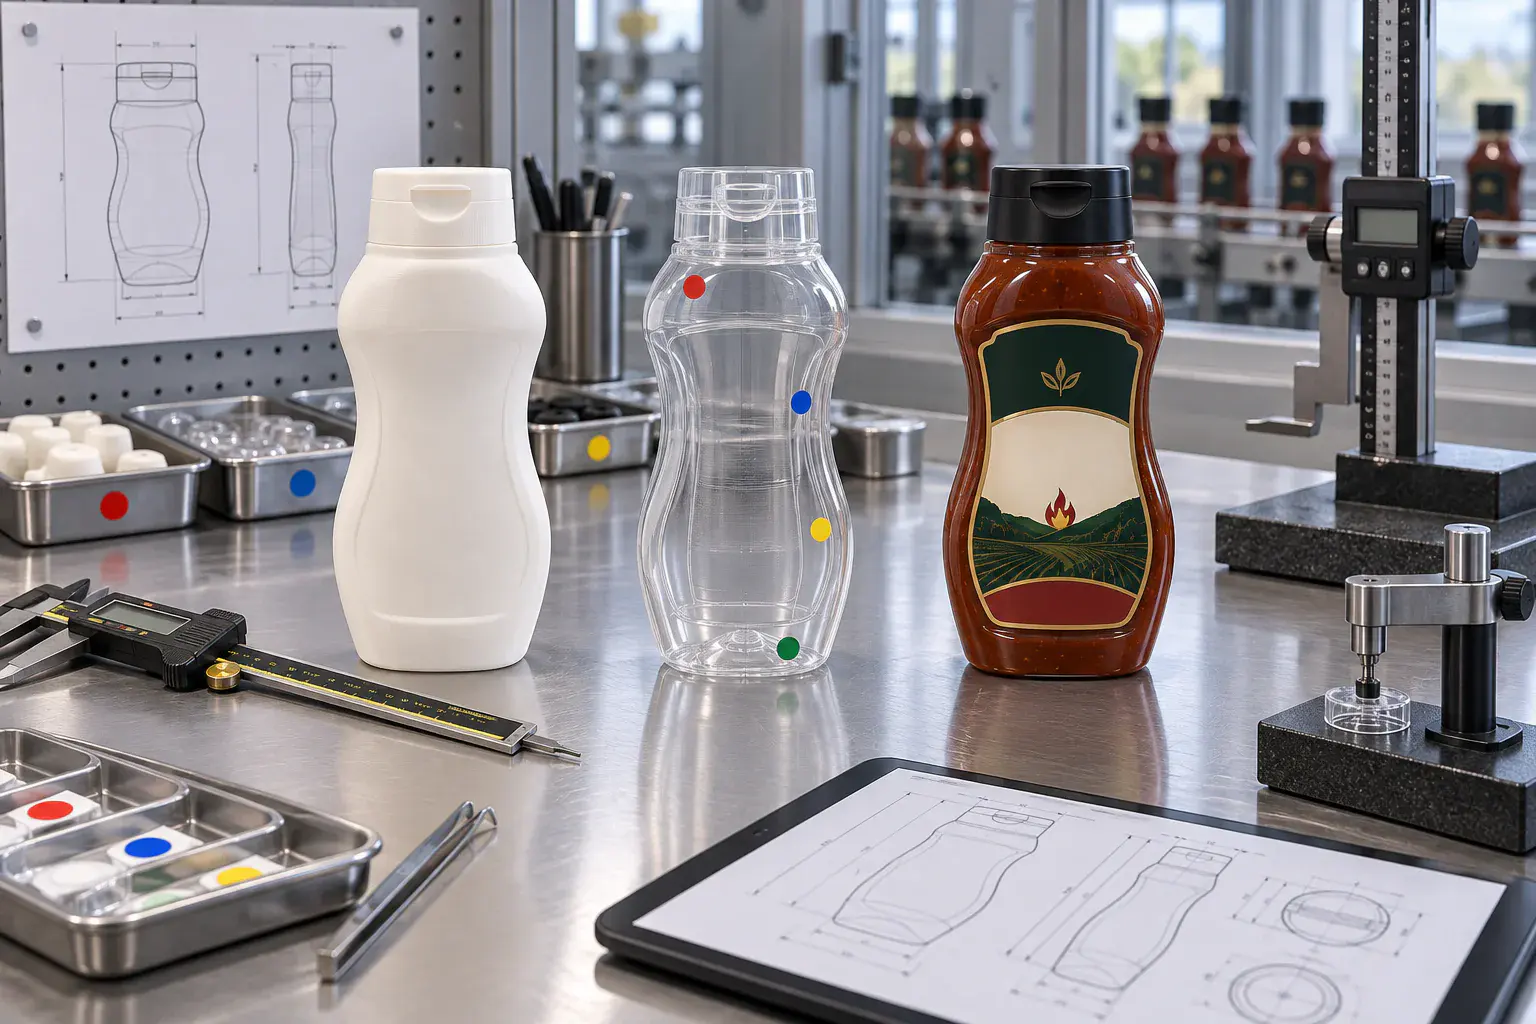
A custom plastic soy sauce bottle should not move from an attractive rendering directly into mold approval. The safer sequence is to define how the filled package must work, translate that use into controlled drawings and acceptance methods, identify what each sample round can prove, close every deviation, and release one traceable bottle-and-closure configuration for production.
Once a proprietary bottle has been selected, project control becomes the priority. The product brief, tool drawings, T0 and later trial samples, closure set, decoration, carton and production criteria must all describe the same package. Conflicting revisions or an unidentified mating component can invalidate otherwise useful test results.
A release file is complete when another qualified team can identify the approved revision, reproduce the agreed checks and understand which changes require reapproval. A sample on a desk is useful evidence, but it cannot carry the whole specification by itself.
| Project gate | Decision to make | Evidence required before approval |
|---|---|---|
| Design brief | What the complete filled package must do | Approved use case, product inputs, component list, drawings and test plan |
| T0 / first tool trial | Whether the tool makes the intended basic geometry | Identified samples, dimensional results, fit checks and a written deviation list |
| Revised tool trial | Whether corrections achieve the functional target | Closed actions, repeated critical tests and updated controlled documents |
| Production release | Whether the exact configuration can enter the first commercial run | Signed release record, reference samples, inspection plan and change triggers |
1. Define the Use Case Before Freezing the Shape
Begin with the service model because the same silhouette can behave very differently as a rigid tabletop pourer, a hand-squeezed retail bottle or a back-of-house refill bottle. Record who handles the package, how it is opened and dispensed, whether it is repeatedly refilled, its expected storage orientation, and the point at which residue, leakage or deformation becomes unacceptable.
Describe the actual soy sauce or representative test liquid. Include viscosity with the test temperature and method when available, density, particulates, salt content or other compatibility concerns, fill temperature, cooling step, expected shelf life and distribution environment. Water can expose a gross leak, but it cannot automatically approve flow, wetting, staining or long-term compatibility for the real sauce.
Nominal capacity, brimful capacity and intended fill volume are different values. Headspace should come from filling accuracy, product and temperature change, process conditions, closure application and distribution testing. A fixed percentage copied from another project is not a production specification.
| Intended use | Brief must define | Typical release evidence |
|---|---|---|
| Rigid tabletop pour | Pour angle, air return, desired stream, refill and cleaning cycle | Filled pour trials, last-drop observation, cap fit and repeated handling |
| Hand-squeezed retail bottle | Grip force, dose, body recovery, label behavior and cap-down risk | Force/recovery trial, dispensing cycles, side-lay storage and label check |
| Foodservice or refill pack | Handling speed, repeated opening, sanitation and large-format stability | Cycle test, closure durability, filled stability and operator trial |
| Automated retail line | Conveyor, guides, filling, capping, labeling and case-packing interfaces | Line trial or fixture checks using the approved component set |
2. Write a Design Brief That Engineering Can Measure
A useful brief separates desired appearance from measurable requirements. Brand references may define the silhouette, hand feel and shelf character, while the engineering portion controls capacity, mass, critical dimensions, neck and closure interface, functional zones, label area, decoration, filling route and case pack. Each item needs an owner and an approval method.
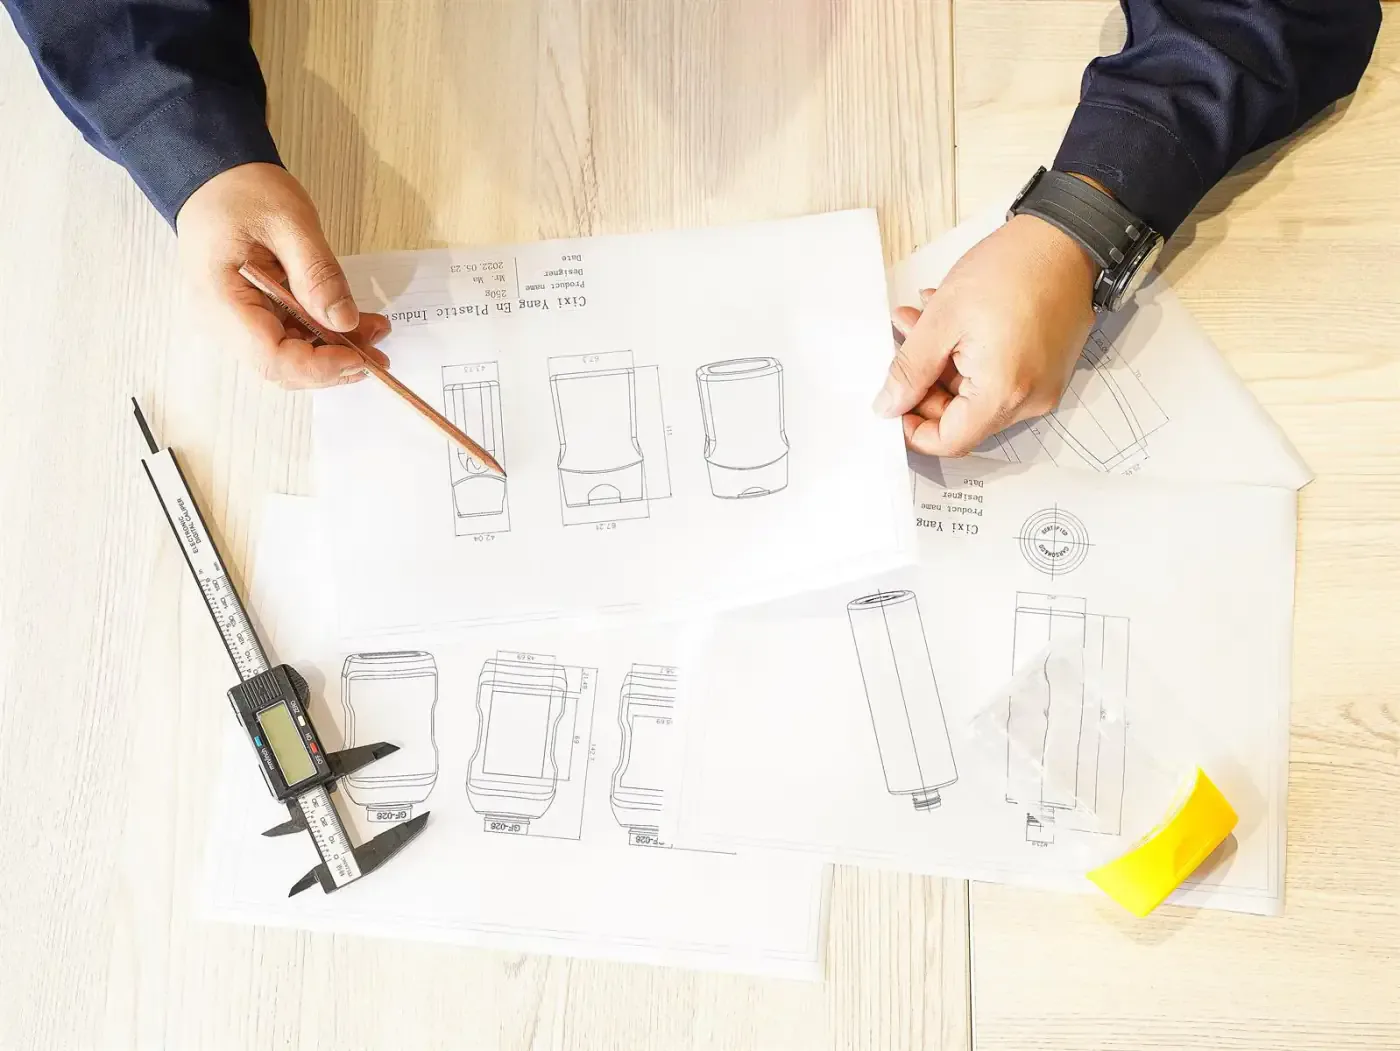
Choose the material route around the real process and market. PET can support clarity and a glass-like appearance; PE-family structures can support different squeeze and impact behavior. The final decision still depends on the specific resin, colorant, component supplier, intended food-contact conditions, filling process, closure system and shelf-life evidence. A generic material name is not enough to release a food package.
List the supplied components and the customer-supplied components explicitly. If the factory supplies the bottle but the brand or co-packer supplies the cap, liner, pour insert or label, the brief must identify the exact mating sample and revision used for tooling and testing.
| Brief block | Minimum controlled inputs | Approval owner |
|---|---|---|
| Product and process | Soy sauce, fill temperature, fill volume, cooling, storage and shelf-life target | Brand / co-packer |
| Bottle | Material route, mass target, capacities, dimensions, functional zones and base | Brand + bottle engineer |
| Neck and dispensing set | Finish, cap, insert, liner, vent path, orientation and application method | Bottle, closure and filling teams |
| Decoration | Label or sleeve artwork, panel, seam, barcode, varnish and color references | Brand + converter |
| Logistics | Case count, dividers, pallet pattern, stacking and route conditions | Brand + packer / logistics |
| Quality plan | Critical characteristics, method, sample identity, frequency and decision rule | Brand + manufacturer quality teams |
3. Freeze Interfaces, Revisions and Functional Zones
The bottle, neck, cap, liner or insert and filling equipment form one system. Freeze the interface with referenced drawings and physical mating parts. Control dimensions should include the features that affect sealing, cap application, dispensing direction and line handling rather than every visible dimension on the model.
Divide the bottle into functional zones. The neck and sealing land control closure fit; the shoulder transfers top load; the grip panels influence squeeze and handling; the label panel controls decoration; the heel and base affect stability and conveyor contact. A single average wall-thickness target cannot explain whether those zones will perform.
Give every drawing, 3D file, artwork and test plan a revision code. The sample label should point back to those codes. If a cap, resin, bottle mass, label construction or mold geometry changes, the team can then identify which tests are affected instead of restarting or approving by memory.
- State which dimensions are critical to function and which are reference dimensions.
- Identify the mating cap, liner or insert by supplier code, revision and sample date.
- Define bottle orientation for dispensing, labeling, cap application and case packing.
- Mark cavity identity where cavity-level comparison is required.
- Keep a controlled change log that links each revision to the reason and required retest.
4. Know What T0, T1 and Other Samples Can Approve
Sample names are not universal across every mold maker. One supplier may call the first tool trial T0; another may use a different sequence or deliver a first-off sample after some bench adjustment. Define the stage names, mold condition, resin, cavity set and intended decision before samples are shipped.
An appearance model or 3D print can review scale, grip, shelf silhouette, label coverage and some cap-clearance questions. It generally cannot approve production resin behavior, final wall distribution, molded neck dimensions, sealing performance or food-contact status. The brief should state those limits so a visually approved model is not mistaken for a production-representative bottle.
T0 review should concentrate on tool-generated geometry and the highest-risk interfaces. Cosmetic expectations may be provisional if polishing, texture or process development is incomplete. Later trials should confirm that corrections close the named deviations and that the functional result is repeatable across the cavities intended for production.
| Sample stage | Useful approval decisions | Decisions to defer |
|---|---|---|
| Rendering / CAD | Proportion, feature placement, label concept and preliminary interfaces | Hand feel, molded tolerances, sealing and real dispensing |
| 3D / SLA model | Scale, grip, shelf presence, cap envelope and label mock-up | Production resin behavior, wall distribution and final leak performance |
| T0 / first tool trial | Basic molded geometry, neck fit, capacity, mass, gross function and correction list | Final cosmetics or repeatability when tool/process work remains |
| T1/T2 or revised trial | Correction closure, repeat dimensions, functional tests and decoration fit | Commercial consistency until production controls are demonstrated |
| First production run | Released configuration, cavity/process consistency, packing and line behavior | Future changes not covered by the approved change process |
5. Build an Evidence Package Around Every Tool Trial
Do not receive a carton labeled only ‘T0 samples.’ Each sample set should identify project code, drawing revision, mold trial stage, date, resin and color, nominal part mass, cavity or position when applicable, closure used and any temporary condition that differs from the intended production package.
The measurement report should compare results with the agreed drawing and method. Useful records may include mass, nominal and brimful capacities, overall height, critical neck dimensions, neck roundness, base dimensions, label-panel geometry and a wall-distribution map at named sections. The exact list should follow the project risks rather than a generic checklist.
Run filled-package checks with the intended component set. Depending on use, this can include cap application and removal, inverted or side-lay storage, dispensing and cutoff cycles, squeeze recovery, drop or impact testing, top-load or stacking checks, label application and case-pack review. Test height, conditioning, fill level, sample count and pass/fail criteria must be agreed for the project; a borrowed number is not evidence.
6. Convert Comments into a Deviation-Closure Record
A marked photograph can explain a defect, but an email thread is a weak change-control system. Use one deviation record that states the sample identity, observed result, specified boundary, evidence, likely cause, proposed correction, owner, due date and the exact test that will be repeated.
Separate tool corrections from process tuning and from specification decisions. Moving a parting line, correcting a neck dimension and polishing a scuff are tool actions. Adjusting blow pressure or cooling may be process work. Accepting a wider cosmetic boundary or changing bottle mass is a specification decision that needs approval from the authorized project team.
Close an issue with data from the revised sample, not with a promise that production will improve it. If the correction can influence another characteristic, record the linked retest. For example, a body or base change may affect capacity, label fit, standing stability, squeeze feel and carton count at the same time.
| Record field | Example question | Closure evidence |
|---|---|---|
| Identity | Which revision, cavity and trial produced the result? | Sample label and report reference |
| Requirement | What agreed boundary was missed? | Drawing, test plan or approved appearance standard |
| Action | Is the change to tool, process or specification? | Named owner and revised document |
| Verification | Which characteristics could the change affect? | Defined retest and results |
| Disposition | Approved, rework, resample or reject? | Dated decision by authorized roles |
7. Create a Reference Standard That Production Can Use
After the necessary trial loop, approve a reference or golden sample that represents the agreed bottle and closure combination. Keep identified samples with both the brand and manufacturer when practical. Add approved artwork, color references and boundary samples for appearance issues that are difficult to express with words alone.
A physical sample supports communication, but it can age, deform, become damaged or lose traceability. It should be backed by the current drawing, material and component list, test methods, dimensional report, artwork files and deviation-closure record. If the sample and controlled document disagree, the release record must state which governs.
For multi-cavity tooling, do not let one attractive cavity stand in for the whole mold. Define how cavity identity will be checked and which dimensions or functional tests must be compared across cavities before the mold is accepted.
8. Release Production with an Approved Window and Change Triggers
The production release should identify the approved bottle drawing and mold revision, resin and color route, bottle mass or permitted range, closure and liner, decoration, packing configuration, reference samples, inspection methods and sampling plan. It should also state who can authorize a deviation and how nonconforming material will be contained.
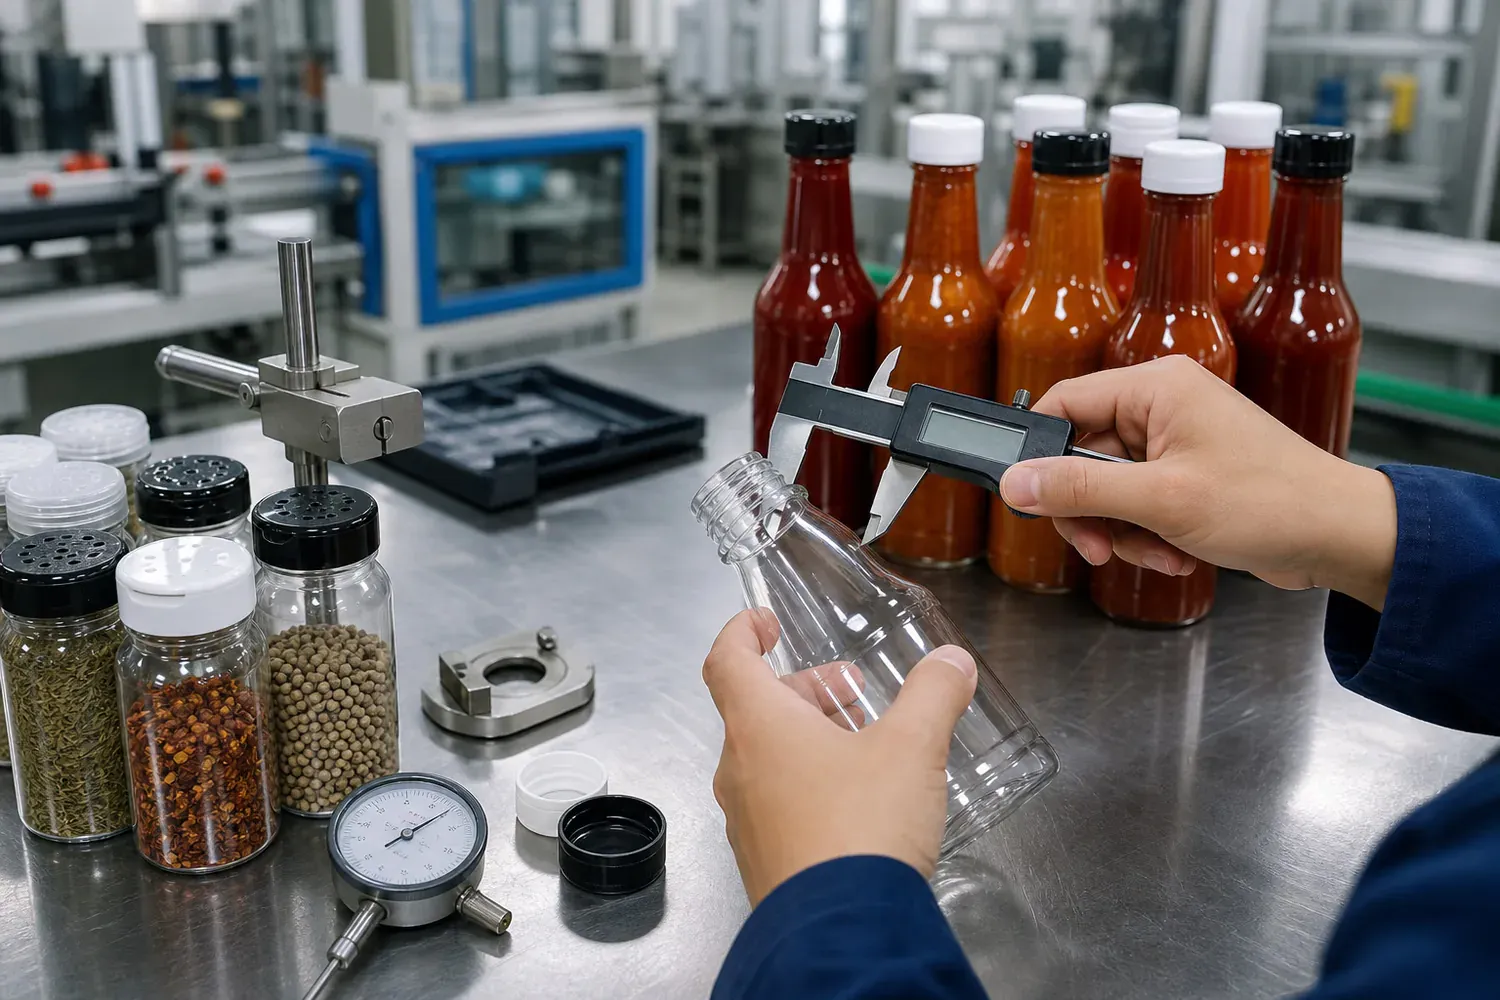
Do not describe the quality plan simply as ‘critical defects have a 0% AQL.’ AQL is a sampling framework, not a promise that a lot contains no defects. Classify safety, regulatory, functional, line and cosmetic defects; define the sample plan and acceptance number; and specify any characteristics that require 100% controls, mistake-proofing or separate verification.
Production processes need a validated operating window and response plan. Freezing one machine setting forever can be as misleading as having no control because equipment, cavities and ambient conditions vary. Define the outputs that must stay within specification, the process parameters that are controlled, and the changes that trigger engineering review or requalification.
Use the first commercial run to verify cavity consistency, line handling, closure application, decoration, pack-out and final inspection under the released configuration. A successful tool trial is an important gate, but it is not the same as a stable commercial process.
9. Use Factory Resources Where They Reduce Project Risk
Gracepack operates with 500+ owned mold resources and more than 5,000 standard bottle types, supported by 15 injection molding machines, 13 blow molding machines and nine automatic production lines. A custom soy sauce bottle program can therefore begin by comparing existing bottle and closure families before finalizing proprietary tooling, then continue through drawing review, cap fit, samples, production and inspection in one coordinated workflow.
The production route is approved through project-specific evidence: a manufacturable brief, trial samples marked by revision or cavity, reports for dimensions that control function, coordinated bottle-cap-decoration checks, and verified closure of deviations before release.
Start the technical review with one structured project package: the reference bottle or drawing, intended capacity and fill volume, soy sauce and filling conditions, closure or dispensing route, label dimensions, order forecast, destination market, requested launch date and current technical concerns.
10. Production-Release Checklist
Before signing the release, verify that the commercial order, engineering file and physical sample all point to the same configuration. If a required input is still provisional, name it and keep the affected approval gate open.
- Approved design brief with intended use, filled product, process and market conditions.
- Current bottle, neck, closure, insert or liner, label and packing revisions.
- Identified T0 and revised samples with dimensional and functional results.
- Closed deviation list with evidence for every accepted correction.
- Approved reference samples and appearance boundary standards where needed.
- Inspection characteristics, methods, sampling rules and responsible roles.
- First-production verification plan covering cavities, line handling, decoration and pack-out.
- Change triggers for resin, colorant, component source, mold, bottle mass, process, artwork or carton.
FAQ: Custom Soy Sauce Bottle Development
Is T0 a production-quality sample? Not automatically. T0 usually identifies an early tool trial, but the precise meaning varies by supplier. Agree on the mold condition, material, cavity set and approval purpose before judging the samples.
Can a 3D-printed bottle approve the final squeeze feel or seal? Usually no. It is useful for scale, grip, shelf shape and fit-envelope reviews, but it does not reproduce the final production material, wall distribution or molded sealing surfaces reliably enough for production release.
Should every soy sauce bottle use the same headspace percentage? No. Define headspace from the fill process, product behavior, temperature range, closure application and distribution validation for the specific pack.
What should trigger another sample round? Any change that can affect capacity, critical dimensions, neck or cap fit, dispensing, squeeze response, standing stability, decoration, packing or compliance should be reviewed and the affected tests repeated.
What is the difference between sample approval and production release? Sample approval records that an identified sample met a defined review. Production release connects the approved design, components, documents, process controls, inspection plan, reference samples and change rules to the commercial run.


