
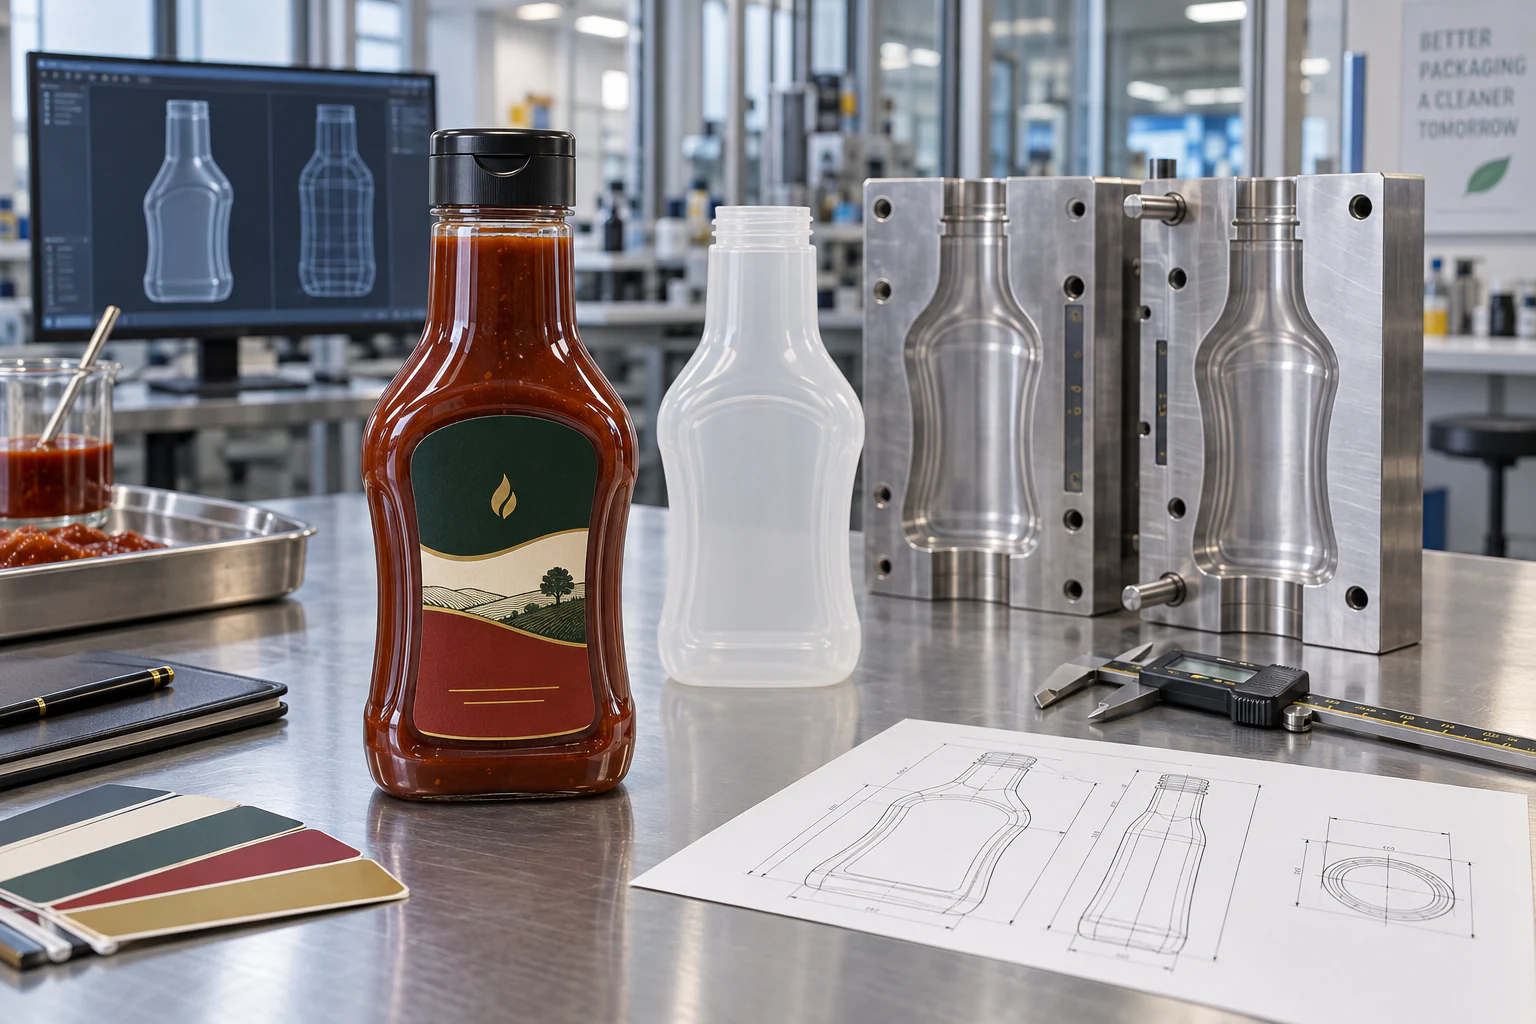
A custom-molded BBQ sauce bottle is not ready for production when its silhouette looks right. The development program must also prove capacity, neck finish, closure fit, wall distribution, squeeze behavior, label application, conveyor stability and performance at the real filling temperature. Tooling cost therefore depends on the complete mold system and validation scope, not bottle volume alone.
The lowest-risk sequence is specification lock, 2D and 3D engineering, an appearance prototype, design-for-manufacture review, production-tool fabrication, T0/T1 mold trials, filled-package testing and signed first-article approval. Mold ownership, exclusive-use rights, maintenance responsibility and transfer conditions should be written into the purchase agreement before metal is cut.
| Development Gate | Physical Output | Approval Question |
|---|---|---|
| Packaging brief | Capacity, material, neck, cap, fill and label specification | Can one measurable brief govern design and inspection? |
| Appearance prototype | SLA or similar model plus label mockup | Is the shape, grip and shelf presentation acceptable? |
| DFM release | Production CAD, parting line, draft, wall and mold plan | Can the shape be molded repeatably on the intended process? |
| T0/T1 trial | Production-representative bottle and dimensional report | Does the first tool produce a functional package within the agreed window? |
| Filled-package validation | Hot-fill, squeeze, cap, leak, label and line-trial results | Does the bottle work with the actual BBQ sauce and equipment? |
| First-article approval | Signed sample, drawing revision and defect limits | Is there an objective master for mass production and repeat orders? |
Freeze the BBQ Sauce Packaging Brief Before CAD Work
The bottle brief should begin with the sauce, not a reference photo. Record nominal fill volume and brimful capacity separately, then define sauce viscosity at a stated temperature, the largest onion, garlic, pepper or fruit particle, oil content, target shelf life and whether the bottle will be stored cap-up or cap-down. These variables determine the usable neck opening, dispensing closure and shoulder geometry.
Next, document the filling process: cold fill, warm fill or hot fill; target product temperature at the filler; time from fill to capping; cooling method; headspace; and expected internal vacuum after cooling. A hot-filled BBQ sauce can soften the bottle while product contraction pulls the panels inward. A shape approved only as a cold, empty sample has not passed this service condition.
The equipment envelope matters just as much. Provide the maximum bottle height and width, conveyor guide-rail contact zones, filler nozzle diameter, capper downforce, neck-handling requirements, labeler type, label panel dimensions, case count and pallet pattern. A visually successful bottle can still fail if the filler nozzle cannot enter the finish, a side guide touches a decorative rib or a compound curve wrinkles the label.
| Brief Item | Minimum Information | Design Decision It Controls |
|---|---|---|
| BBQ sauce | Viscosity, particles, oil, acidity and target shelf life | Orifice, neck bore, material and barrier route |
| Fill process | Product temperature, dwell, capping and cooling | Resin grade, panel geometry and dimensional allowance |
| Closure | Neck finish, liner or valve, application and removal torque | Finish tooling, sealing land and top-load path |
| Decoration | Label type, printable panel and registration need | Panel curvature, draft, texture and orientation feature |
| Line interface | Nozzle, capper, guides, sensors and conveyor speed | Bottle height, stability, handling rings and datum locations |
| Distribution | Carton, pallet, storage and destination conditions | Top load, scuff control and secondary packing |
Select the Molding Route Before Quoting the Tool
Clear PET, flexible HDPE and heat-tolerant PP do not use one interchangeable tooling route. PET sauce bottles are commonly injection stretch blow molded from a preform. The neck finish is formed in the preform tooling, while the bottle body is formed in the blow mold. A new body can sometimes use an existing compatible preform, but a proprietary neck, unusual bottle weight or different preform geometry may add a second tool and a longer qualification path.
HDPE and LDPE squeeze bottles are commonly extrusion blow molded. This route gives the designer more freedom in squeeze feel and handle geometry, but pinch-off design, flash trimming, parison programming and circumferential wall distribution become key. PP can be molded through several routes depending on the bottle and heat requirement, so the process must be selected before the drawing is released.
The correct quote identifies every tool required: bottle body mold, preform or parison route, cap mold, valve or liner tooling, trimming fixture, decoration fixture and any replaceable inserts for logos, date codes or texture. A price labeled only as 'custom bottle mold' is not complete enough for a commercial comparison.
| Bottle Route | Typical Strength | Tooling Scope to Confirm | BBQ Sauce Risk to Validate |
|---|---|---|---|
| PET stretch blow molding | Clarity, gloss and controlled bottle definition | Preform compatibility plus bottle body blow mold | Hot-fill shrinkage, vacuum paneling and squeeze recovery |
| HDPE/LDPE extrusion blow molding | Flexible squeeze feel and impact resistance | Bottle mold, pinch-off, parison program and trimming | Wall variation, panel creasing and label-zone distortion |
| PP bottle molding | Higher-temperature potential in a qualified structure | Process-specific bottle and possible preform tooling | Hinge, stress whitening, dimensional change and closure fit |
| Injection-molded closure | Repeatable thread, orifice and sealing geometry | Cap cavities, inserts, ejection and assembly features | Leakage, opening force, valve fit and particle clogging |
How to Read a Custom Bottle Tooling Cost
Tooling cost rises with the number of tool sets, cavity count, steel grade, surface finish, moving actions, replaceable inserts, expected service life and inspection scope. A simple single-cavity bottle shape mold is not economically comparable with a multi-cavity PET program that also requires proprietary preform and cap tooling. Put each item on a separate quotation line so the cost can be traced to a physical asset or validation task.
For early Gracepack planning, a straightforward bottle-shape mold has sometimes started around USD 1,300, while simple cap tooling has commonly been discussed in an approximate USD 2,500 to USD 5,000 range. These are feasibility references, not published fixed prices. Final pricing follows the approved drawing, process, cavity count, mold material, closure mechanism, surface treatment and production-life target.
A separate drawing deposit may be used before final tooling approval and then credited or refunded under the agreed order terms. The commercial quotation should also state whether T0/T1 trials, dimensional reports, sample quantity, revisions, freight, maintenance and replacement inserts are included. This prevents a low initial mold price from becoming a series of unplanned engineering charges.
| Quote Line | What Must Be Defined | Why the Cost Changes |
|---|---|---|
| Bottle body mold | Process, cavities, material, finish and expected life | More cavities and higher-grade mold materials increase machining and qualification work |
| Preform or neck route | Existing preform, new preform or proprietary finish | A new PET neck or preform can require separate injection tooling |
| Closure tooling | CT cap, flip-top, valve holder, tamper band or nozzle | Hinges, undercuts, seals and assembly features add complexity |
| Brand features | Embossing, debossing, texture and replaceable logo inserts | Fine surfaces require additional machining, polishing and change control |
| Trials and metrology | T0/T1 quantity, report scope and revision allowance | More evidence and iterations add machine, material and engineering time |
| Tool care | Storage, preventive maintenance, spare inserts and repair | Service obligations continue after first production approval |
Prototype in Stages: Appearance Model, T0, T1 and First Article
A 3D-printed appearance model answers questions about silhouette, hand feel, label placement and shelf footprint. It does not automatically represent production resin, wall thickness, squeeze force, food contact, hot-fill response or closure sealing. Treat it as a geometry review tool unless its material and process are specifically qualified for another use.
T0 is the first molding trial from the new tool. Its purpose is to expose manufacturing issues such as incomplete forming, poor venting, flash, uneven wall distribution, a visible parting line or difficult ejection. Measurements from T0 are compared with the released drawing, and the tool or process is corrected before the next trial.
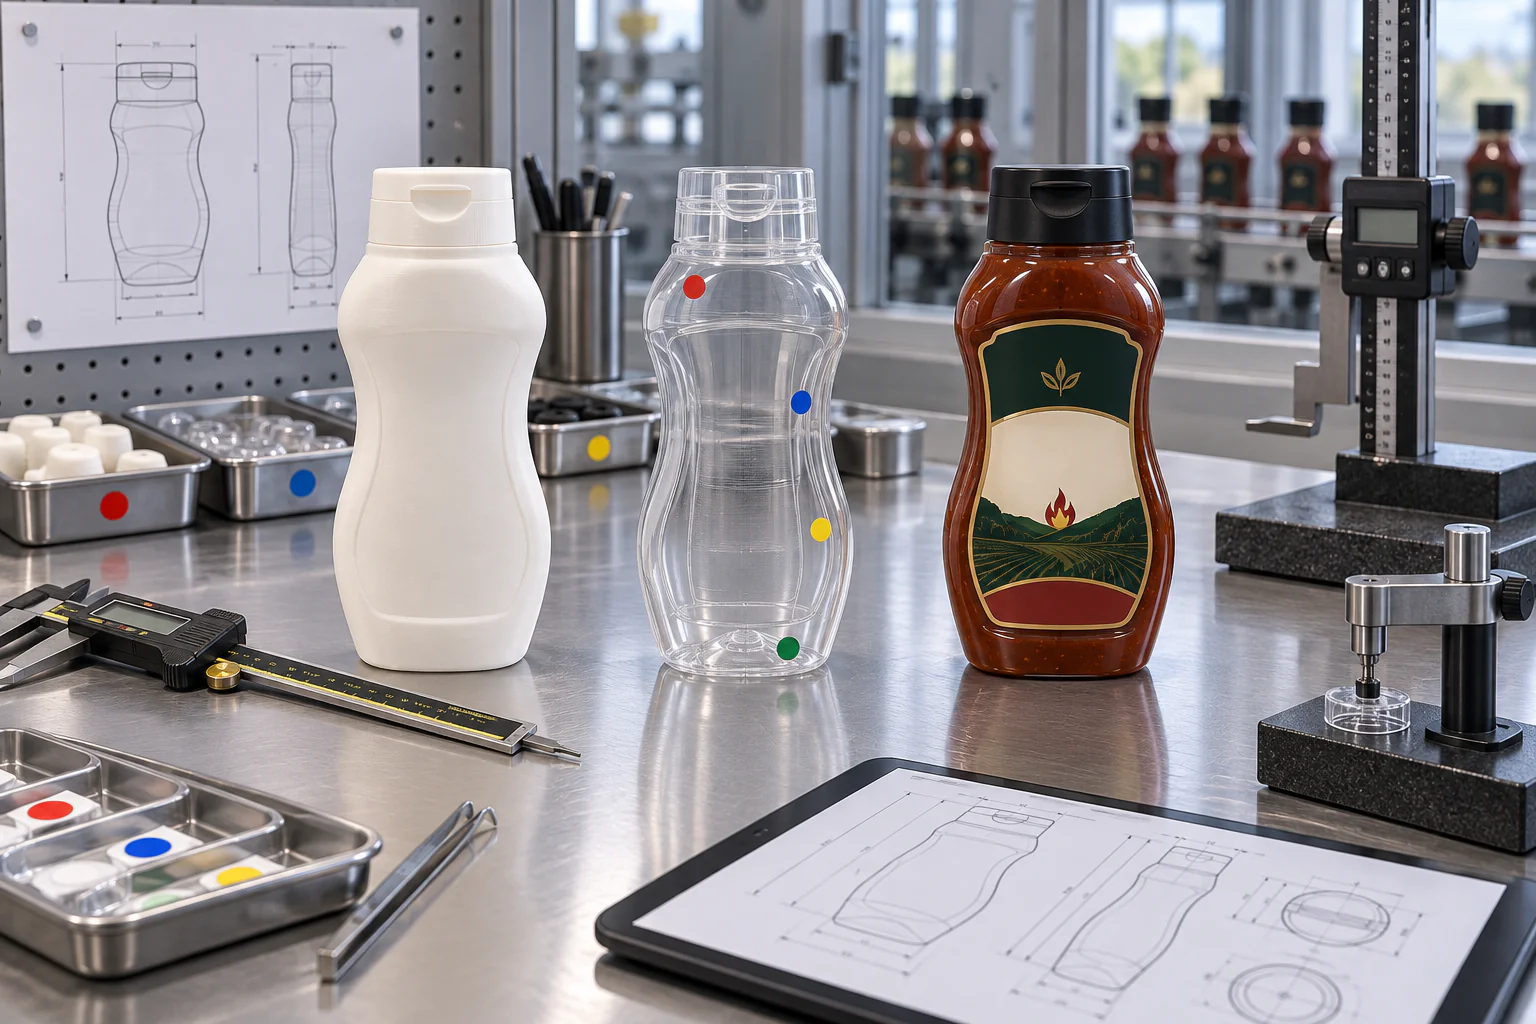
T1 should be closer to the production window and use the intended resin, bottle weight, neck finish and closure route. The approval set should include dimensional measurements, filled appearance, bottle and cap fit, label mockups and samples identified by revision and cavity. The signed first article then becomes the physical and documented reference for mass production.
| Sample Stage | What It Can Prove | What It Cannot Replace |
|---|---|---|
| 2D/3D design | Capacity model, interfaces, dimensions and visual intent | Physical grip, label application and molding evidence |
| SLA/appearance model | Scale, silhouette, grip and label mockup | Production squeeze, hot-fill, food-contact or leak validation |
| T0 trial | First mold output and visible tooling corrections | Stable production window or final cosmetic approval |
| T1 trial | Corrected geometry and near-production performance | Long-run cavity consistency unless the run is designed for it |
| First article | Approved revision, measurable limits and master sample | Ongoing lot inspection and retention-sample control |
Validate the Bottle with Real BBQ Sauce and the Intended Line
Water is useful for capacity and initial leakage checks, but it cannot reproduce a thick BBQ sauce's yield stress, particles, oil phase or cooling profile. Fill trial bottles with the real formula or a technically justified simulant, then test dispensing force, stream shape, valve cutoff, residue, cap-down storage and cleaning around the orifice. The largest particles must pass without bridging at the neck or closure.
For hot-fill projects, record product temperature at the nozzle and bottle-wall temperature through capping and cooling. Measure volume change, panel movement, base stability, neck ovality and label-panel distortion after the bottle reaches room temperature. The bottle must remain compatible with the cap after thermal shrinkage, not only when it leaves the mold.
Run line trials at more than one speed if the launch will ramp in stages. Confirm filler-nozzle clearance, bottle spacing, guide-rail contact, cap pickup, applied torque, label registration and reject-sensor behavior. If capper downforce is important, use a defined top-load method such as ASTM D2659 as part of the bottle qualification, then correlate laboratory results with the actual capper.
| Trial | Measure | Typical Failure Found |
|---|---|---|
| Filled dispensing | Squeeze force, flow rate, cutoff and residue | Hard squeeze, surging, stringing or trapped sauce |
| Particle passage | Largest particle and repeated-dose consistency | Bridging at the neck, valve or cap orifice |
| Hot-fill and cooling | Shrinkage, vacuum response, base and panel recovery | Panel collapse, lean, finish movement or label distortion |
| Closure validation | Application torque, removal torque and leakage | Cross-threading, liner slip, loose cap or valve bypass |
| Conveyor and labeler | Stability, orientation and label placement | Bottle tipping, scuffing, wrinkling or sensor rejection |
| Distribution pack | Carton fit, compression and transport condition | Panel marking, cap contact, deformation or leakage |
Put Mold Ownership, Exclusivity and Transfer Terms in Writing
Paying a tooling invoice does not, by itself, define every ownership and access right. The agreement should name the legal owner, the physical storage location, the product and territory covered by exclusivity, and whether the manufacturer may use the mold or its geometry for any other customer. The signed drawing and tool identification should match the invoice and purchase order.
Record the tool number, molding process, cavity count, interchangeable inserts, material, accepted condition and included spares. Define who pays for preventive maintenance, damage caused by normal wear, customer design changes and repairs after an agreed production life. If a mold remains idle, state the storage term, notice procedure and any storage charge before disposal can occur.
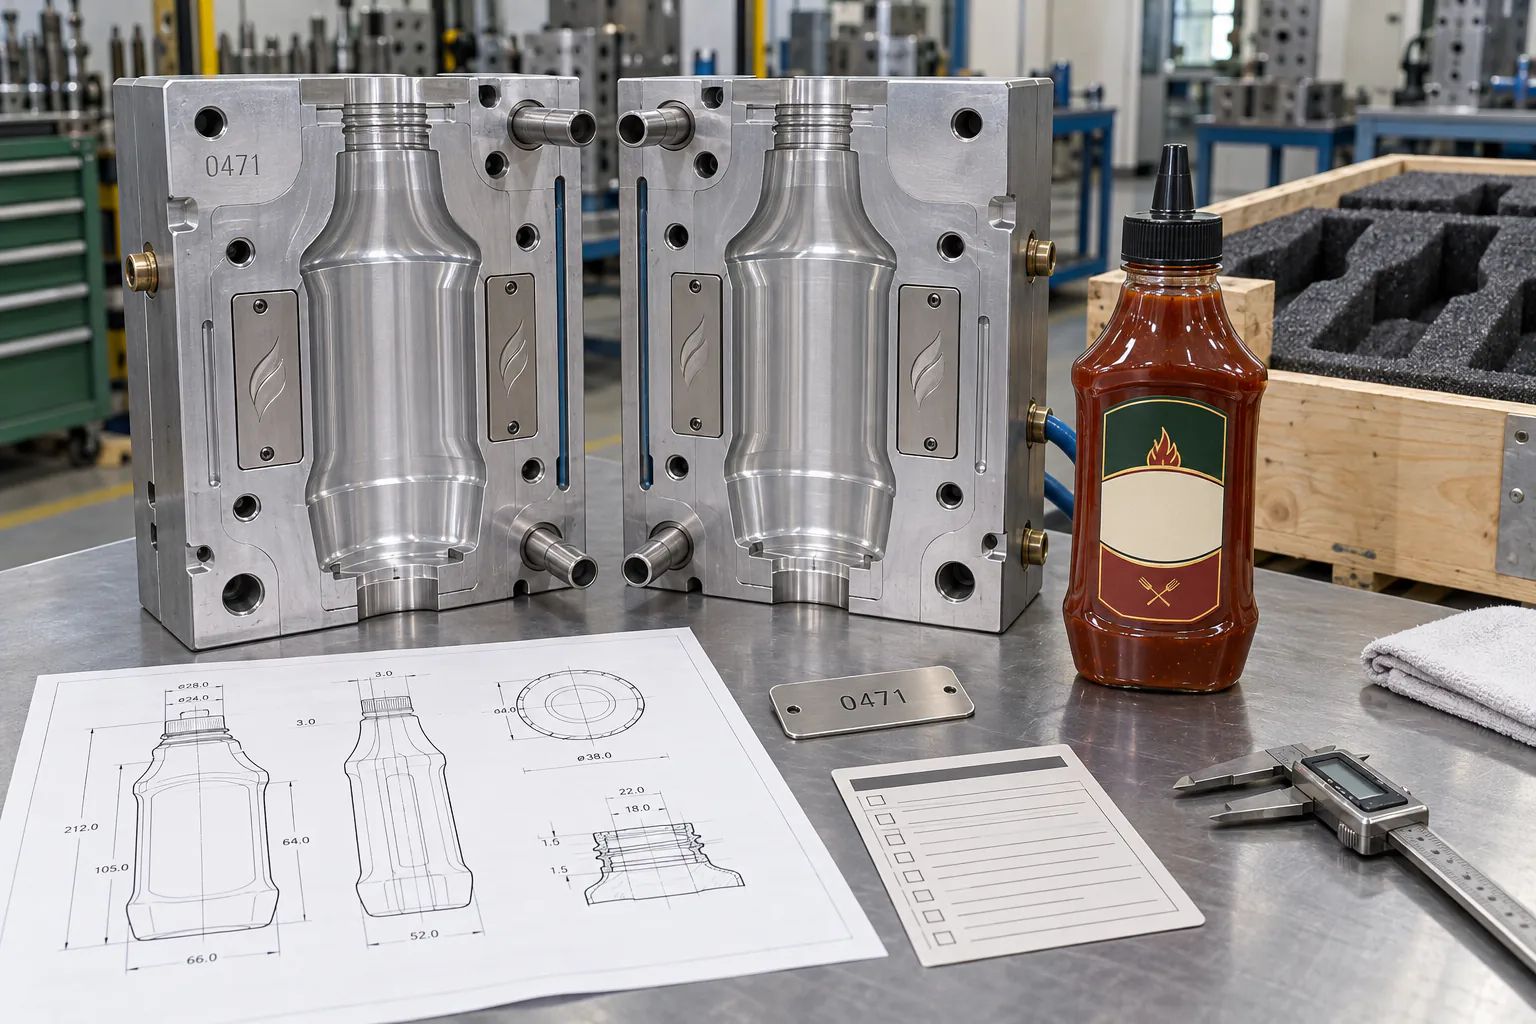
Transfer language should cover notice, inspection before release, unpaid balances, export packing, lifting points, drawings, process sheets, spare inserts and responsibility for adapting the tool to another machine. A bottle body mold may also depend on a factory's preform, neck tooling, trimming equipment or cap mold, so transferring one metal asset may not transfer a complete production process. Commercial counsel should review ownership and IP language for the relevant jurisdictions.
| Agreement Item | Minimum Wording to Resolve | Risk If Undefined |
|---|---|---|
| Ownership | Named owner and the point at which title transfers | Payment and physical possession can be interpreted differently |
| Exclusive use | Who may run the design, for which products and territories | Proprietary geometry may be reused or disputed |
| Tool identity | Tool number, cavities, inserts, drawings and location | The paid asset cannot be matched to the physical mold |
| Maintenance | Routine care, wear limits, repairs and records | Unexpected repair costs and degraded bottle consistency |
| Storage | Idle period, fees, notice and disposal procedure | Tool loss after an inactive production period |
| Transfer | Release conditions, packing, documents and related tooling | A mold arrives without the process information needed to run it |
Build the Lead Time from Approval Gates, Not One Delivery Date
A useful development schedule starts only when the input package is complete. Capacity, reference shape, material, neck finish, closure, fill temperature, order forecast and decoration direction should be confirmed before the engineering clock begins. Customer drawing changes after DFM release reset affected tasks and may require new prototypes or inserts.
Gracepack's current planning references are about 15 days for a PE bottle-shape mold and about 25 days for a PET bottle-shape mold after drawing approval and payment. PP preform tools and cap molds can be closer to 45 days because their injection geometry and cavity details require a different build and qualification path. These are planning ranges, not guaranteed delivery commitments; complex shapes, special materials, trial failures and customer revisions can extend them.
After the mold is built, allow time for T0 production, measurements, corrective machining, T1 samples, international sample transit, filled-package testing and written approval. Mass production should not be scheduled against the first tool-completion date. It should be scheduled against an approved first article, confirmed resin and decoration materials, available machine capacity and a released packaging specification.
| Schedule Block | Clock Starts When | Common Cause of Delay |
|---|---|---|
| Design and DFM | Complete brief and reference files are received | Changing capacity, finish, label panel or bottle weight |
| Appearance prototype | 3D geometry is approved for prototype | Revisions after hand-feel or label review |
| Tool fabrication | Production drawing, payment and mold specification are approved | Complex actions, steel procurement or added cavities |
| T0 correction | First molding trial is complete | Venting, flash, wall distribution or ejection correction |
| T1 and filled trial | Corrected samples are available | Hot-fill deformation, closure leakage or line incompatibility |
| Production release | First article and purchase specification are signed | Resin, color, cap, label or machine scheduling |
Control First Article Approval and Repeat Production
The first-article report should use the same drawing revision that the toolmaker and production team use. At minimum, record bottle weight, nominal and brimful capacity, overall height, body width, neck-finish dimensions, sealing-land condition, wall distribution, base stability, critical cosmetic limits and cavity identity. Functional results should cover closure fit, leak testing and the agreed sauce-process trials.
Keep approved bottle, cap, label and carton references together. Gracepack's custom workflow uses a closed sequence of requirement confirmation, drawing review, customer sign-off, tooling, mold samples, sample approval and mass-production release. Before a bulk run, production samples are compared again with the approved reference so a drawing approval does not become detached from the physical package.
Change control continues after launch. Resin grade, bottle weight, color masterbatch, mold insert, polishing, closure source or process window can alter package performance. Each approved change should state the affected revision, evidence required and whether a new filled-package or line trial is necessary.
| Approval Record | Keep With It | Repeat-Order Use |
|---|---|---|
| Released drawing | Revision, tolerances and sign-off date | Prevents production against an obsolete geometry |
| Master bottle and cap | Cavity, lot, resin and sample date | Provides a physical comparison for appearance and fit |
| Measurement report | Method, fixtures and actual values | Shows dimensional drift by cavity or production lot |
| Filled-package report | Formula, temperature, torque, cooling and leakage | Preserves the conditions under which the package passed |
| Decoration proof | Label or print file, placement and color reference | Controls shelf appearance across repeat runs |
| Change log | Reason, approval and revalidation scope | Prevents undocumented material or tooling substitutions |
Direct Manufacturing Capacity for a Custom BBQ Bottle Program
Custom bottle development works best when mold engineering, molding, closures, decoration and inspection are coordinated as one packaging system. Gracepack supports this work with more than 500 owned mold resources, over 5,000 standard bottle references, 15 automatic injection molding machines, 13 automatic blow molding machines, nine automated production lines, three labeling machines and five printing machines.
That installed base is useful before a new mold is commissioned. Existing preforms, neck finishes, caps, valves and bottle families can be screened for compatibility, reducing the number of new tools without forcing the project back into a stock silhouette. When a proprietary body is needed, the same review connects the body mold to the cap, label and filling-line requirements.
For the first technical review, send the target capacity, reference bottle or sketch, preferred material, sauce viscosity and particle size, filling temperature, neck and cap requirement, label direction, first-order quantity, annual forecast and launch date. The output should be a defined tooling route, sample plan, quotation scope and approval schedule rather than a generic bottle price.
FAQ About Custom BBQ Sauce Bottle Mold Development
How much does a custom BBQ sauce bottle mold cost?
Cost depends on molding process, tool count, cavities, steel, surface finish, expected life and whether preform or cap tooling is also new. Gracepack has discussed straightforward bottle-shape molds from around USD 1,300 and simple cap tooling around USD 2,500 to USD 5,000 as early planning references, but the approved drawing and mold specification determine the final quote.
How long does a custom BBQ sauce bottle mold take?
Current planning references are about 15 days for a PE bottle-shape mold, about 25 days for a PET bottle-shape mold and about 45 days for PP preform or cap tooling after drawing and payment approval. Add T0/T1 corrections, sample transit, filled-package validation and first-article approval before setting the production-release date.
Does paying for a mold automatically give the brand full ownership?
No. The contract should expressly define legal ownership, exclusive use, storage, maintenance, access, transfer conditions, related drawings and any dependent tooling. Payment alone should not be treated as a complete ownership agreement.
Can a 3D-printed bottle be used for a hot-fill test?
A normal appearance prototype is intended for shape, grip and label review. Hot-fill, squeeze, food-contact and sealing tests should use production-representative bottles made in the intended resin unless the prototype material and process have been specifically qualified for the test.
What should be checked on T0 and T1 samples?
Check weight, capacity, dimensions, neck finish, sealing land, wall distribution, base stability, cosmetic defects, closure fit, label placement and cavity identity. T1 should also enter the agreed filled-package and line tests before first-article approval.
When does a project need a separate cap mold?
A separate cap mold is needed when no qualified stock closure matches the required neck finish, orifice, valve, liner, tamper feature, opening force or brand geometry. Confirm cap tooling early because its lead time and validation can be longer than the bottle body mold.
Request a Custom BBQ Bottle Tooling Review
Send Gracepack your target bottle capacity, reference shape or CAD file, sauce viscosity, largest particle, filling temperature, preferred resin, neck finish, closure, label method, first-order volume, annual forecast and target launch date.
We can review the complete route from an existing compatible preform or closure through bottle-body tooling, cap tooling, prototype stages, T0/T1 acceptance, filled-package trials and first-article release. You will receive a scoped sample and quotation path before production tooling is authorized.


